Adding Applications
You may want the server to install
certain software automatically after you have installed the image. It may be
because software is only needed in a certain room or you have a problem with
the anti-virus connecting if you don’t install it after an image is deployed. I
will run through this now.
First adding software to the
application list.
Still in MDT workbench, right click
on the applications box and choose New Application.

Choose the option most applicable to
you but I normally go with ‘Application with source files’
On the next box fill in the
appropriate information

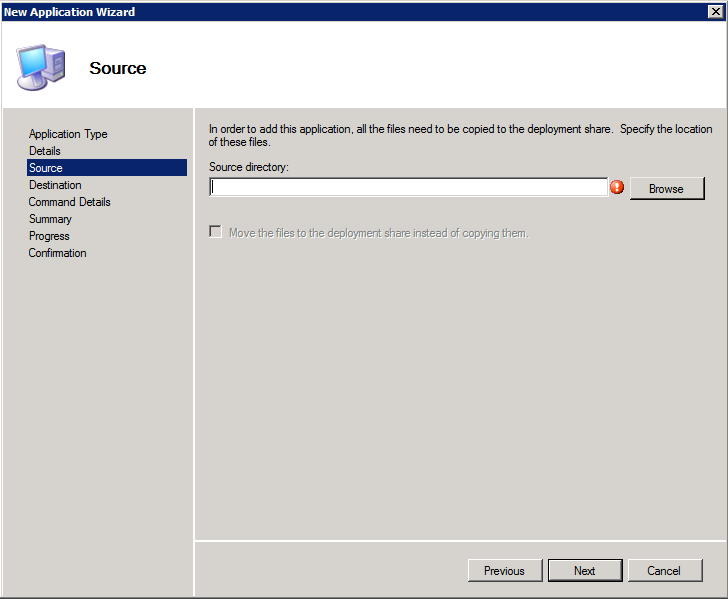
On the next screen, browse to the
software folder and click next
Next specify the name of the folder
to be created

Next specify the command you wish to
run. This will normally be setup.exe or install.msi. You can also specify
command line parameters. You will have to check if any apply to the install
file but normally /s will do silently etc. you may even be able to pass a
command file to the executable to fill in all the information.

Then click next and finish. The
computer will copy across all the files that are in the directory and you will
be able to see it in the applications
box in MDT.
Adding the software to a task sequence.
Click back onto the task sequence box
in MDT and right click on the task sequence you wish to have install the
software. Now choose properties. On the box that pops up choose the second tab
called task sequence. What you see here is a complete breakdown of what the
computer will do.
Under the sub folder ‘state restore’
there will be an option called install applications. If you click on this, you
will have two options on the right. Choose ‘install single application’. You
can then click on browse and choose which application you want.
 In the above picture I have also
added a restart computer command and
then a second install application
command. To do this you simply click the add button at the top of the task
sequence and then choosing the option. I find it better to add a restart after
it installs the software as most require a restart to work.
In the above picture I have also
added a restart computer command and
then a second install application
command. To do this you simply click the add button at the top of the task
sequence and then choosing the option. I find it better to add a restart after
it installs the software as most require a restart to work.
With all this done. You will need to
update the deployment share. To do this you will need to go into the MDT
workbench software, right click on ‘MDT DeploymentShare’ subfolder and then
choose ‘update deploymentshare’. Leave everything as the default and click
next, next and then finish. You should be able to see if the computer has
updated the boot files. If it has then you will need to change them on the WDS
software. I will go through this now.
Updating the boot file in WDS
Run the ‘windows deployment services’
program. On the left hand side click on the server and then the boot folder. In
this you will be able to see all the boot files available. Right click on the
boot folder and choose ‘Add boot image’
On the first box that comes up browse
to the newly created lite touch boot image. These are normally stored under your 'DeploymentshareFolder\boot' folder and are called “LiteTouchPE_x86”. Then click next.
You can then change its name to
something else (up to you), and then click next. Click next again and the boot
image will be installed.
Once this is all done you are ready
to deploy the image.
Reboot the computer and pxe boot to
the boot images. Choose the one you want and let it load. It should ask you for
authentication ( you will need to provide your root account details) and then
the computer name. After this everything is automatically done and you should
have no problems.
No comments:
Post a Comment